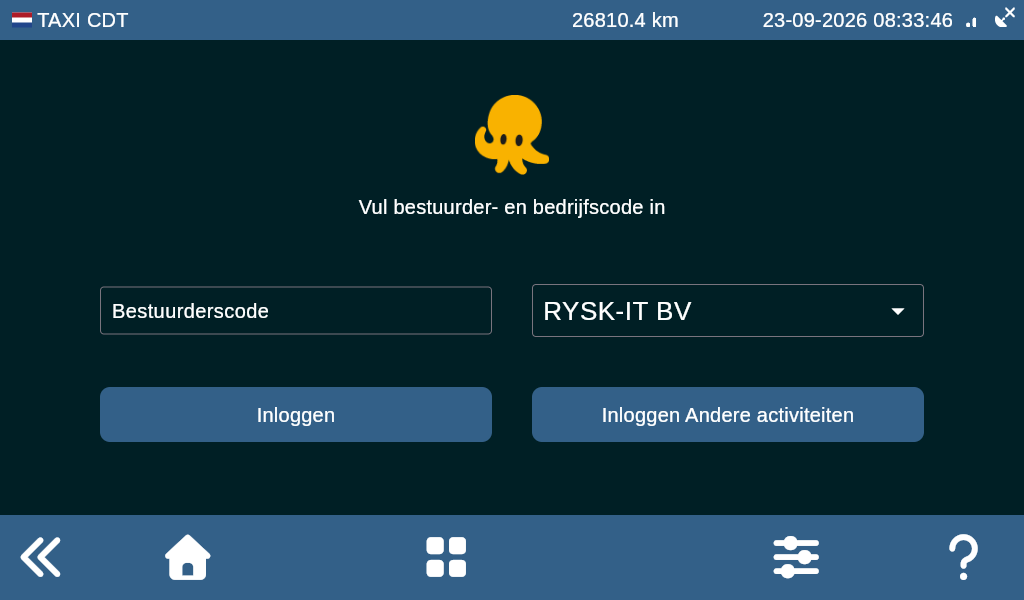
Enter your personal driver code and tap Log in.
Login screen
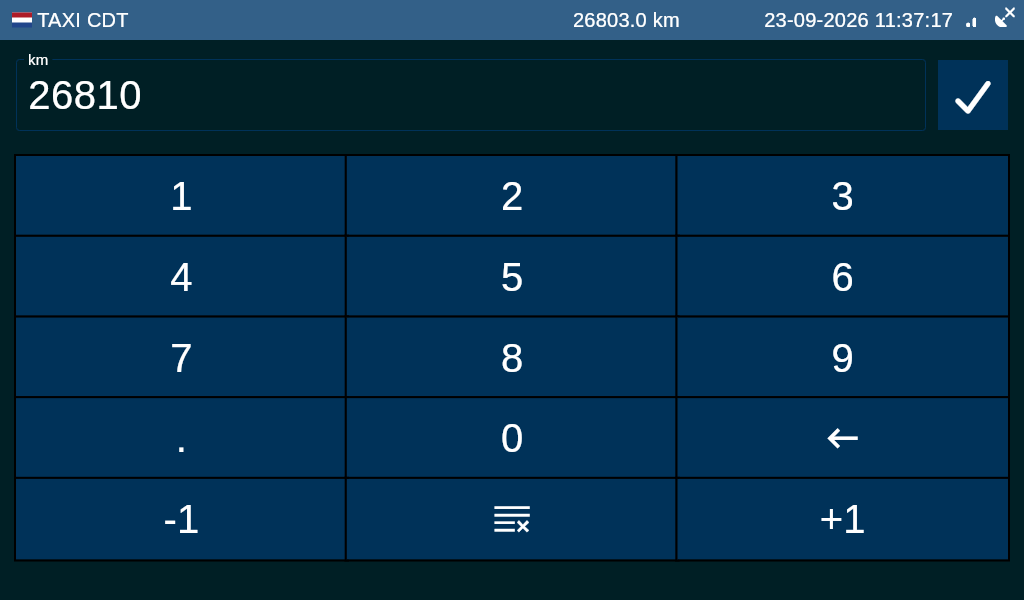
Enter the mileage. You can always change this later.
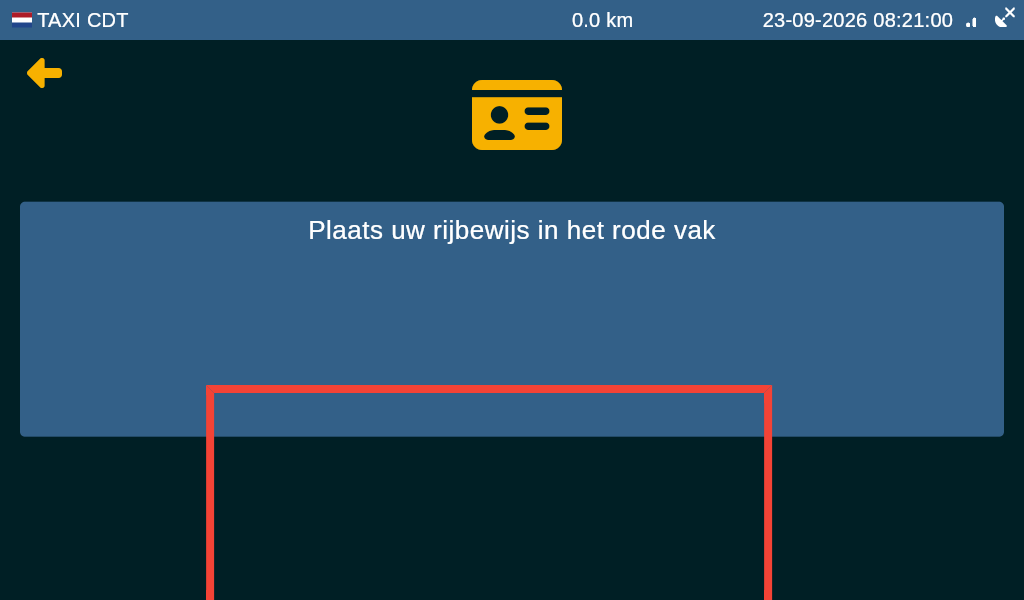
Hold your driving licence inside the red outline and keep it still. When the unit reads the licence, text appears on screen.
Does it take a while, or does the unit not read the licence? Try holding it differently, for example upside down or with the back facing forward.
Is your driving licence damaged? Contact a supervisor. They can arrange for you to log in by SMS.
Note: you may log in by SMS for a maximum of 10 consecutive days.
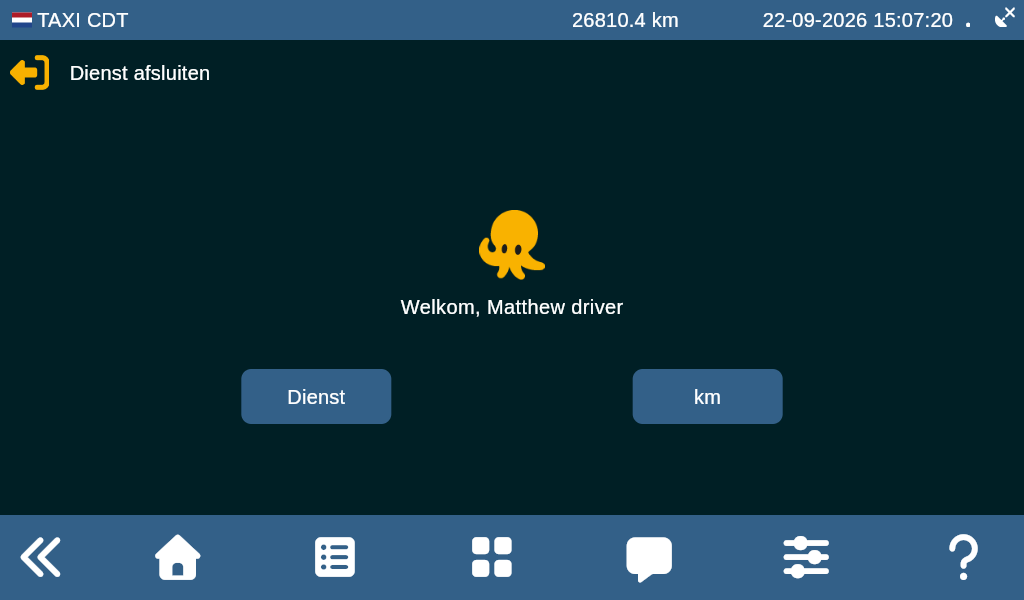
You will see Welcome, [Your name] in the centre of the screen. You are logged in.
Logged in: welcome screen
2. Buttons
The navigation bar is at the bottom of the screen. Expand or collapse it with the arrows at the bottom left.
Navigation bar at the bottom of the screen
Meaning of the buttons in the navigation bar:
Home Return to the home screen.
Navigation menu Dashboard, trip planning and action overview.
Navigation menu / trip overview
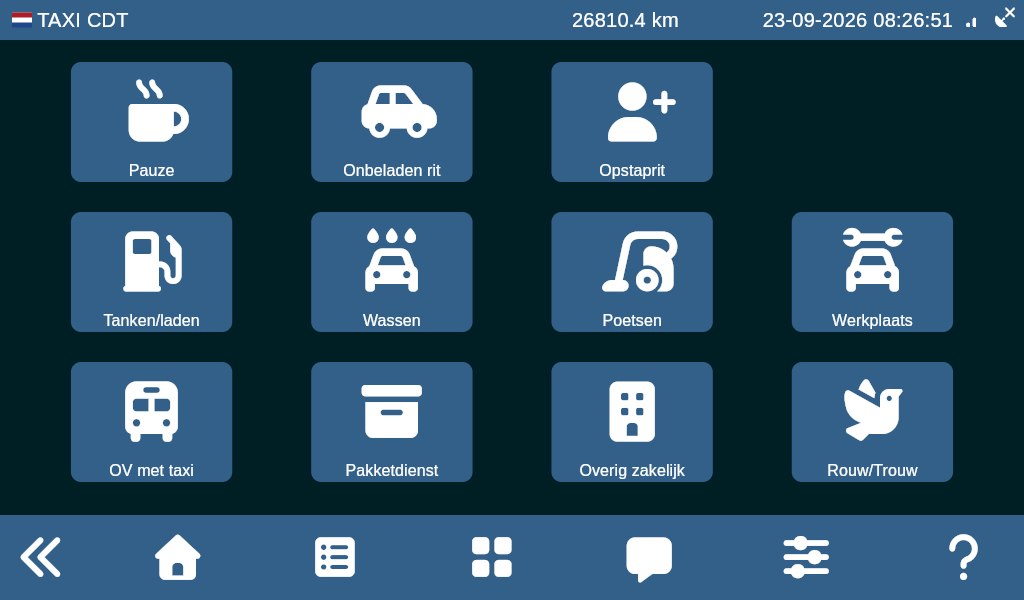
New action Start a new action.
New action
Chat Chat function.
Chat
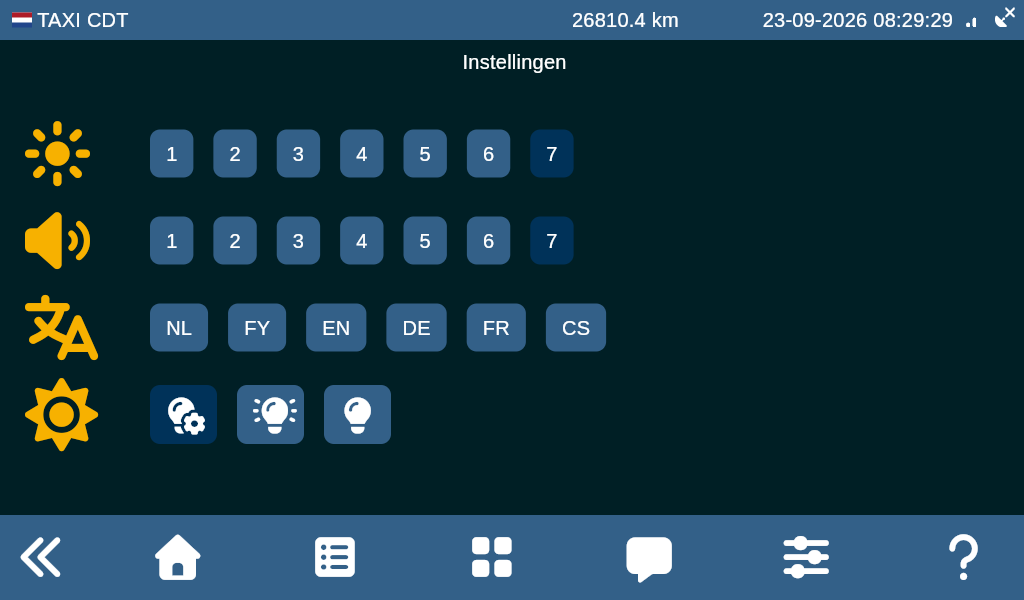
Settings Brightness, ringtone volume, language and day/night mode. Changes are saved automatically.
Settings
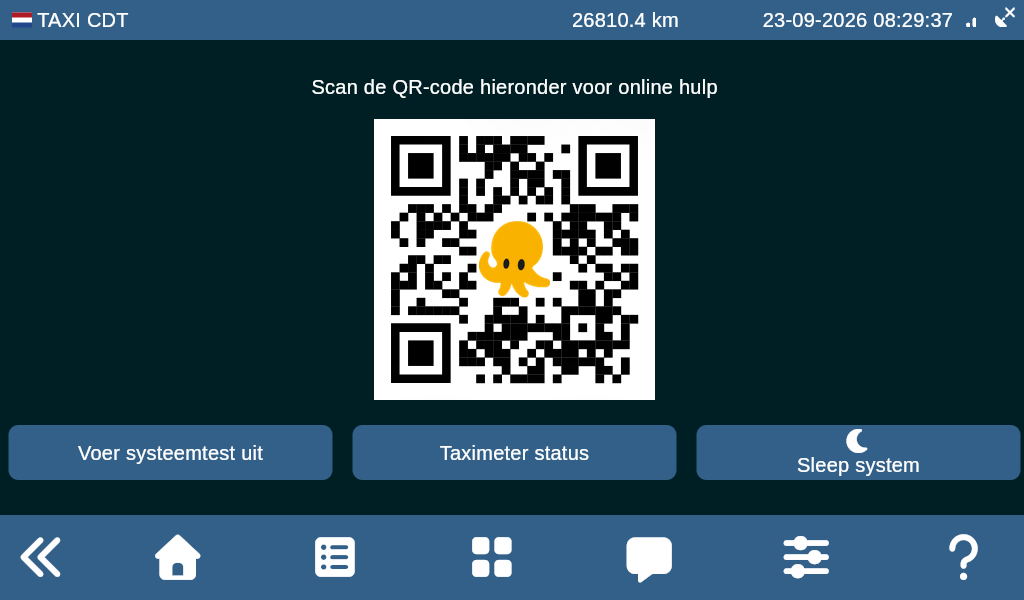
Help In case of a fault, the helpdesk may ask you to open this screen so they can read information.
HelpHelp details
Other buttons
End duty — close your active duty.
Duty history — view the history, especially important for ILT inspections.
Mileage — adjust the mileage if it is incorrect.
3. Screen layout
Top left is a flag. It shows the country you are driving in. It changes automatically when you cross a border.
Next to the flag is the data terminal mode, for example Taxi CDT. In this mode the terminal records duties and actions according to the CDT guidelines.
To the right of that, extra information may appear, such as the mileage or a system message.
Top right shows the current date and time.
The network icon next to it shows whether there is a connection and how strong the signal is.
The GPS icon shows whether there is a signal and how strong it is.
On the screen you see End duty at the top left and Duty and km in the centre.
Tap the arrows at the bottom left to open the navigation bar.
Note: without a network you can still operate the device, but you will not receive trips from the control centre.
4. Start/stop a trip
Open the navigation bar and choose the navigation menu (grid icon).
Open the navigation menu
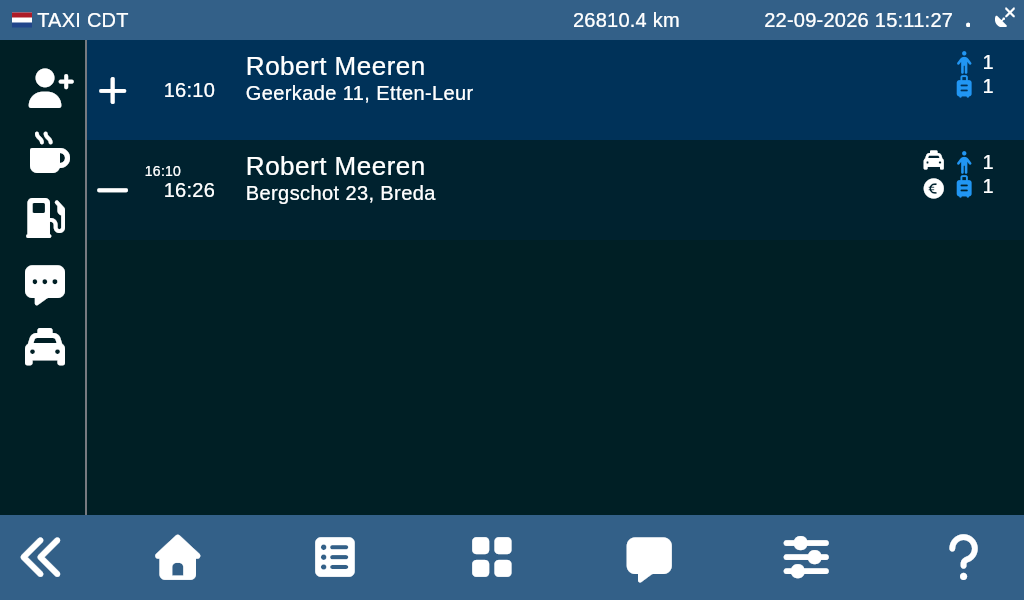
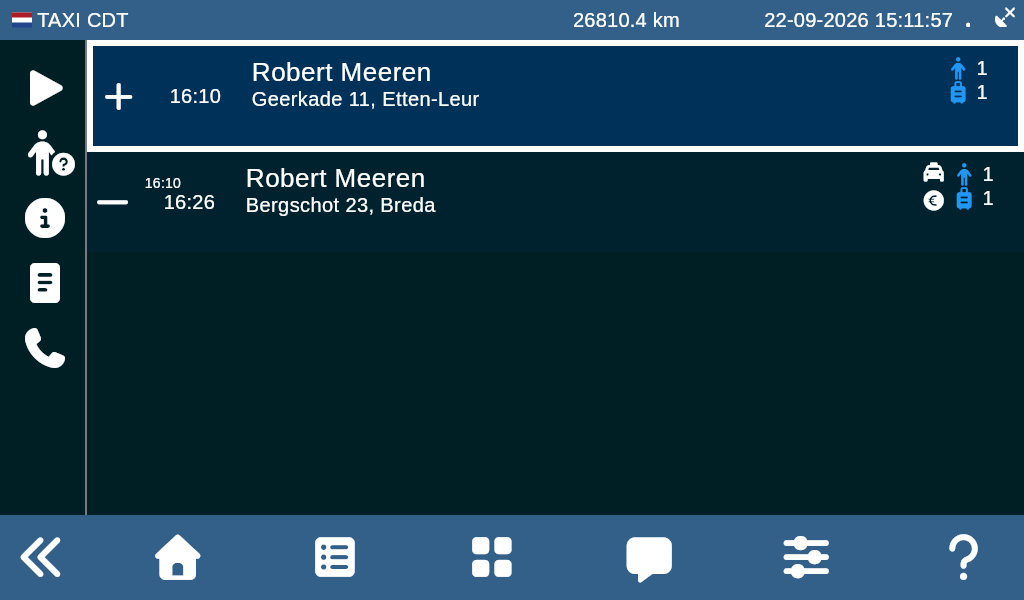
The overview shows pick-up and drop-off times. Pick-up is marked with a plus (+) and drop-off with a minus (−).
Trip overview: + is pick-up, − is drop-off
Note: how far in advance a trip appears depends on planning. Contact planning if you think trips are arriving too late.
4.1 Symbols and meaning
Optionally, on the left you can start a street-hail trip. This differs per company.
Tap this as soon as the passenger has boarded. The trip starts automatically and you then only see the drop-off.
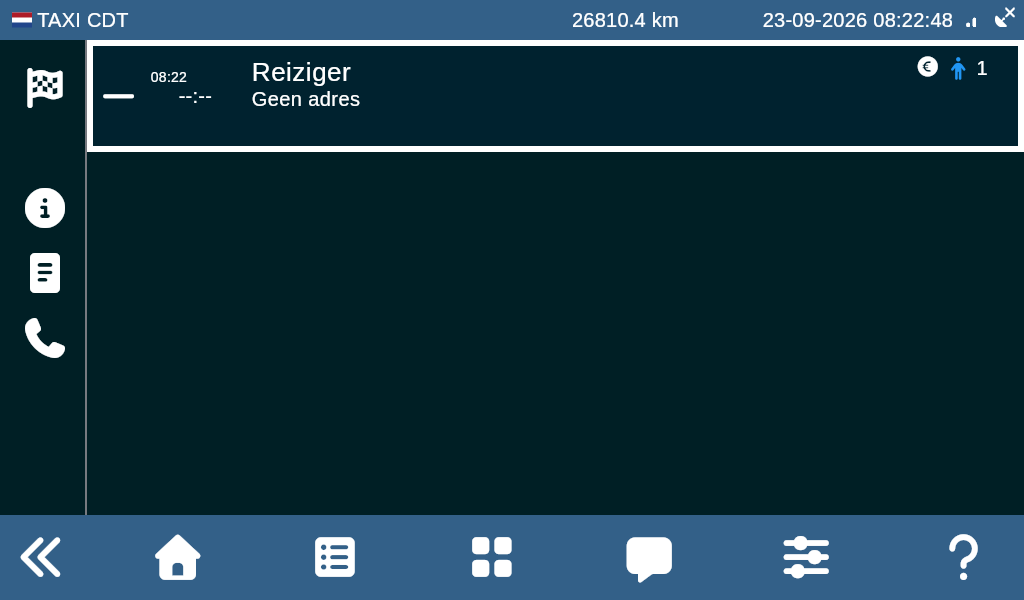
When the trip is finished, tap the trip and then the flag. It appears on the left, where the start button was.
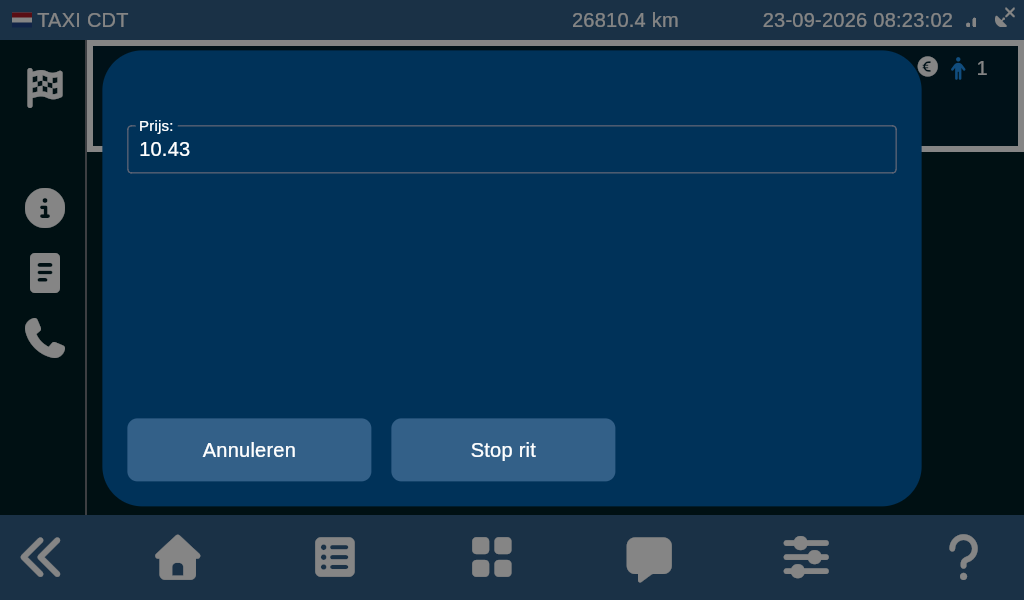
You can then enter the meter fare. Enter it and confirm with the check mark.
Then tap Stop trip. The trip is complete.
Under stop trip you will find a break button, refuel/charge button, messages button and taximeter button.
After you tap a trip, the symbols on the left of the screen change.
Selected trip: symbols on the left
Start trip
Report no-show — the passenger is not coming.
Information — view trip details.
Memo — notes linked to the trip.
Call — if calling is available on your unit, you can reach the passenger. There is also a call-back option where a computer calls the passenger. This differs per company.
4.2 Planned trip
With taximeter
Select the trip you want to carry out by tapping the pick-up time (+).
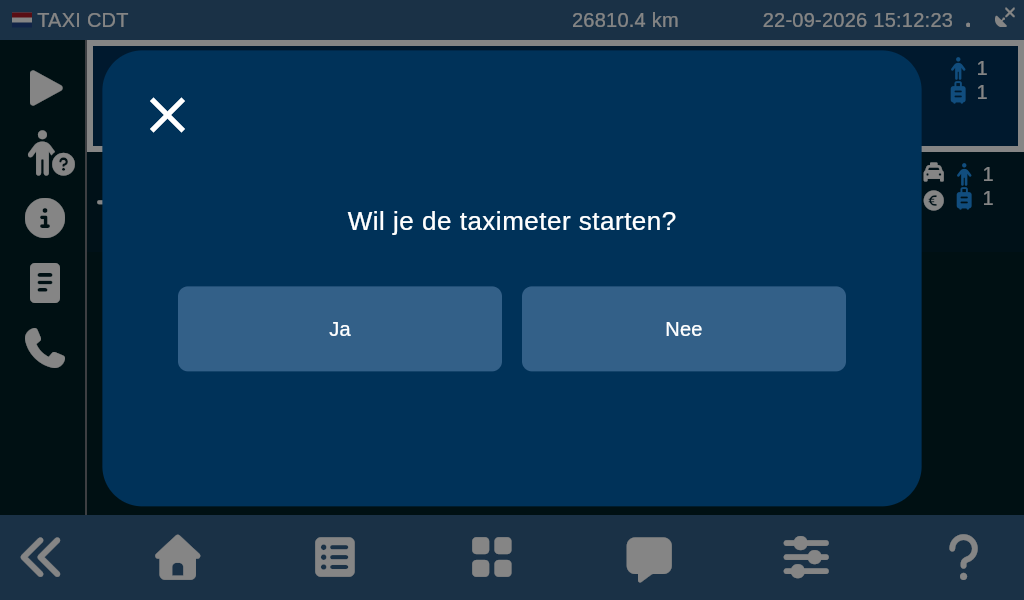
You will be asked “Do you want to start the taximeter?” Choose yes.
Tap Start as soon as the passenger has boarded.
At the destination, tap the drop-off time. The stop button appears on the left.
Enter the meter fare and tap the check mark. Then tap Stop trip.
Note: as soon as you start a trip, the pick-up time disappears from the overview.
Without taximeter
Select the trip by tapping the pick-up time (+).
Tap Start as soon as the passenger has boarded.
At the destination, tap the drop-off time.
The stop button appears on the left. Tap Stop trip.
Note: as soon as you start a trip, the pick-up time disappears from the overview.
If you tap stop trip by accident, you can still cancel that action.
5. Start/stop a break
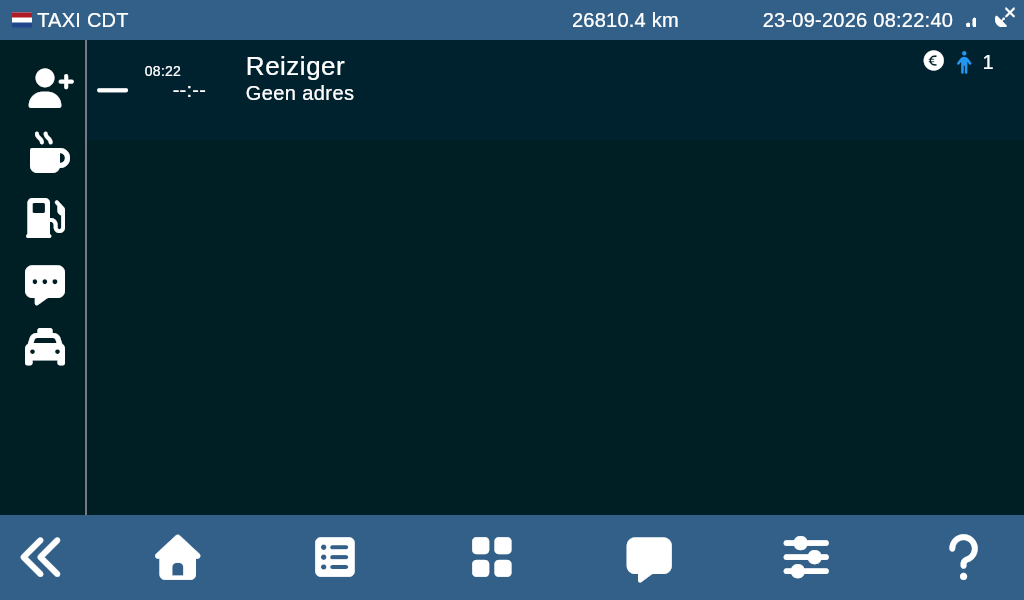
You can manage your break in two ways: from the trip overview or by starting a new action.
Note: you cannot start a break while you are carrying out a trip.
From the trip overview
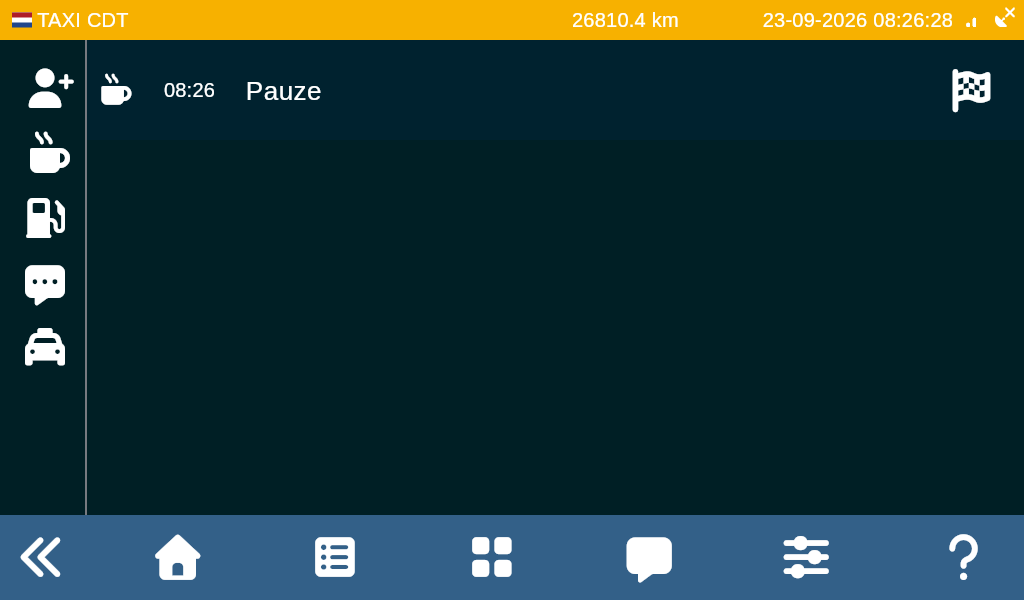
Open the trip overview and tap the coffee cup on the left, under start trip.
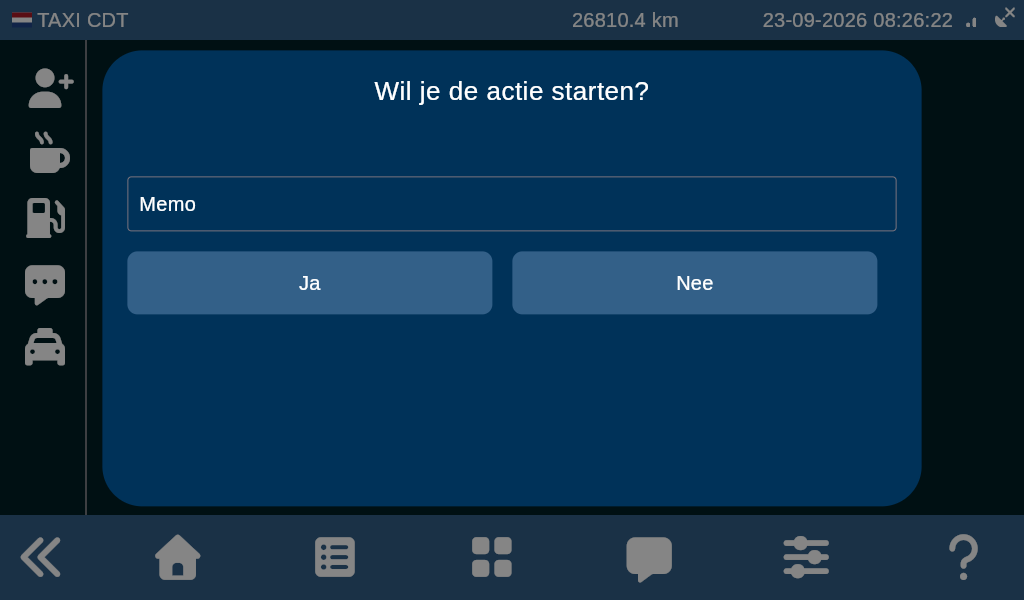
Confirm with yes if you want to start the break. The top bar turns orange and Break appears at the top of the list.
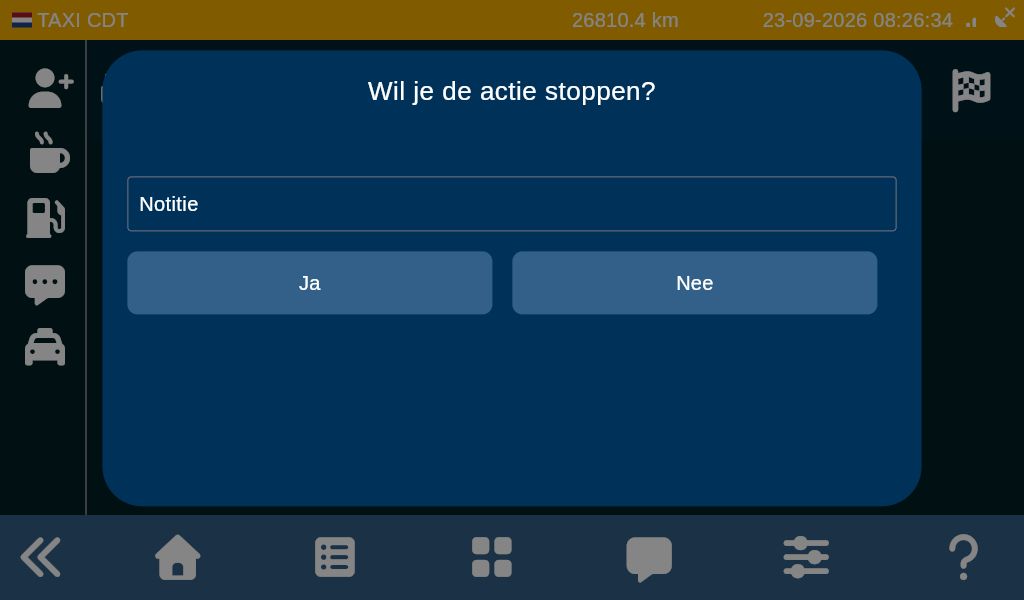
Tap the flag on the right to stop the break and confirm with yes.
Via new action
Open New action and tap the break button.
Confirm with yes. You return to the trip overview.
Tap the flag on the right to stop the break and confirm with Yes.
6. Start/stop another activity
Refuel/charge can be managed from the trip overview or via a new action.
From the trip overview
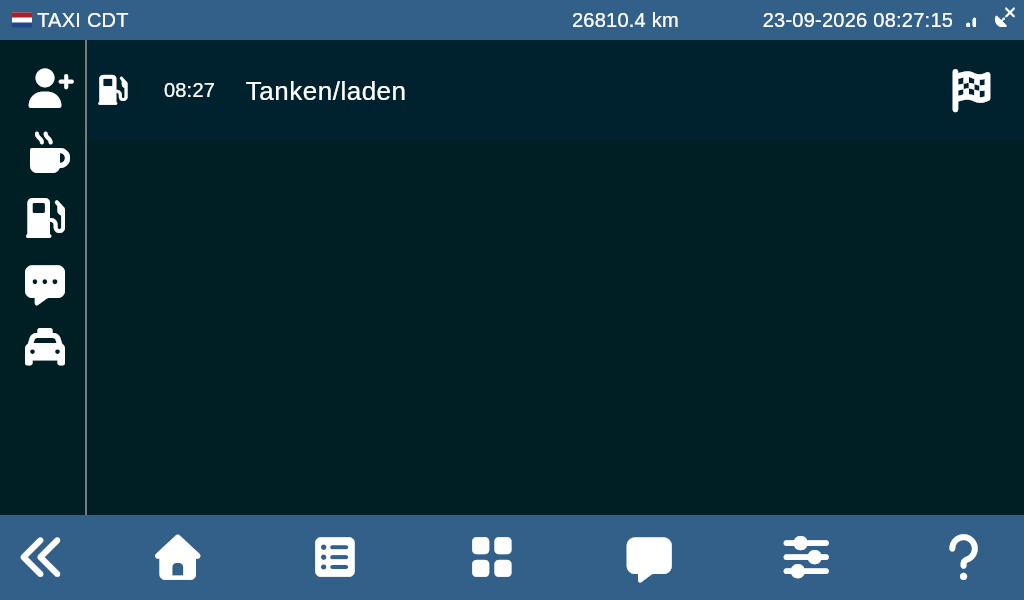
In the bar on the left, under break, tap the fuel icon. Confirm with yes.
Refuel/charge appears at the top of the list.
Tap the flag on the right to stop and confirm with yes.
Via new action
Tap the refuel/charge button and confirm with yes.
You return to the trip overview.
Tap the flag on the right to stop and confirm with Yes.
Start new action
The same applies to all other activities: tap the activity and confirm with yes if you want to start it.
Only a street-hail trip works differently, as described in chapter 4.
Note: always start the correct activity if you use the vehicle outside your duty.
7. Using the taximeter
You can start the taximeter in two ways. Below is the method from the trip overview.
Tap the taximeter icon.
Start the taximeter from the trip overview
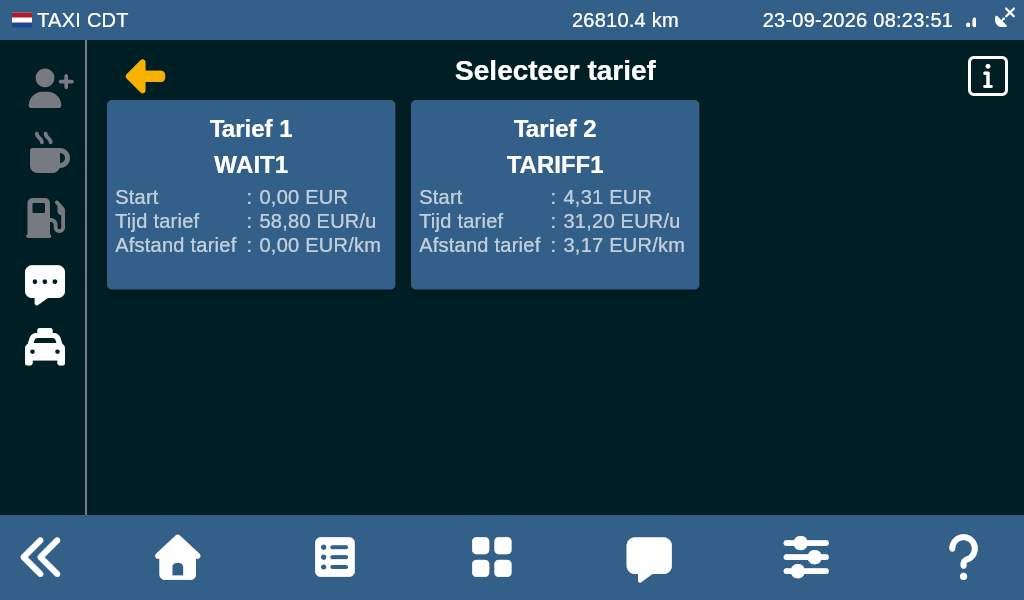
Choose a tariff from the list. You will see the name and ID, the start tariff, the time tariff, the distance tariff and, if applicable, the waiting tariff.
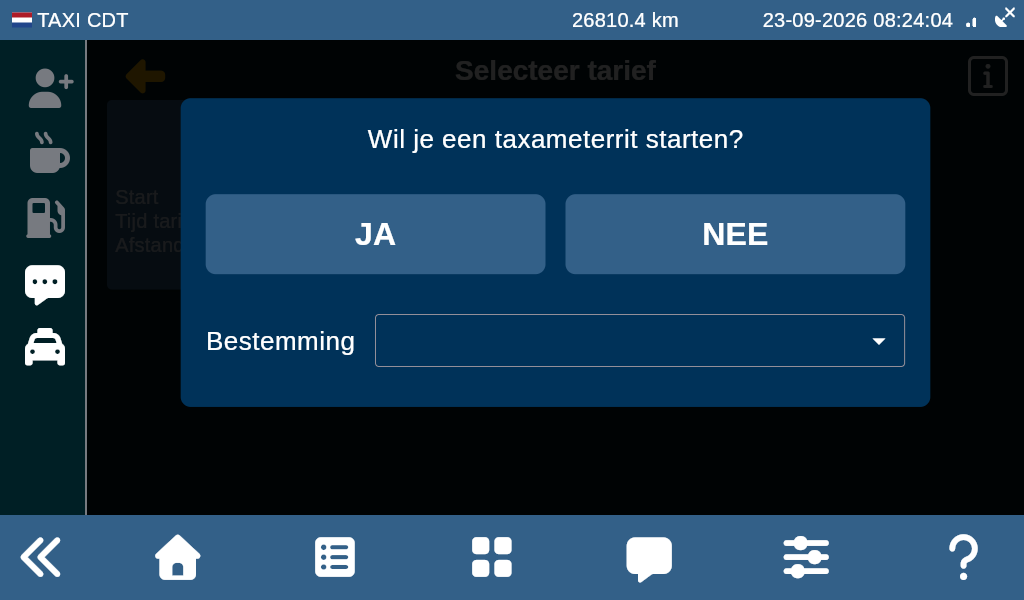
You will see the question “Do you want to start the taximeter trip?” Choose yes.
If a destination has been added to the trip, you can also set a destination region. This information is only used to inform the control centre.
During the trip
On the right you see your profile details. On the left you see, among other things:
Trip status
The selected tariff
Distance (accurate to 100 metres)
Trip duration
Surcharge amount
The current tariff
Increase tariff
Add a note
Increase tariff
Tap the surcharge button. In the window you can enter a surcharge. The active tariff stays on screen. You can adjust the VAT rate and choose tip or other. After adding it, the surcharge is shown on the display.
Add a note
You can add a note to the trip. It is stored in the system and appears on the receipt.
Stop the trip
Tap the stop button. Choose yes at “Do you want to stop the taximeter?” when you have arrived. The final fare is shown.
All information and surcharges are listed per item. You can still add, edit or remove surcharges.
Settle with the passenger. Then you are asked “Do you want to print the receipt?”. After yes or no, the trip is complete.
8. Chat messages
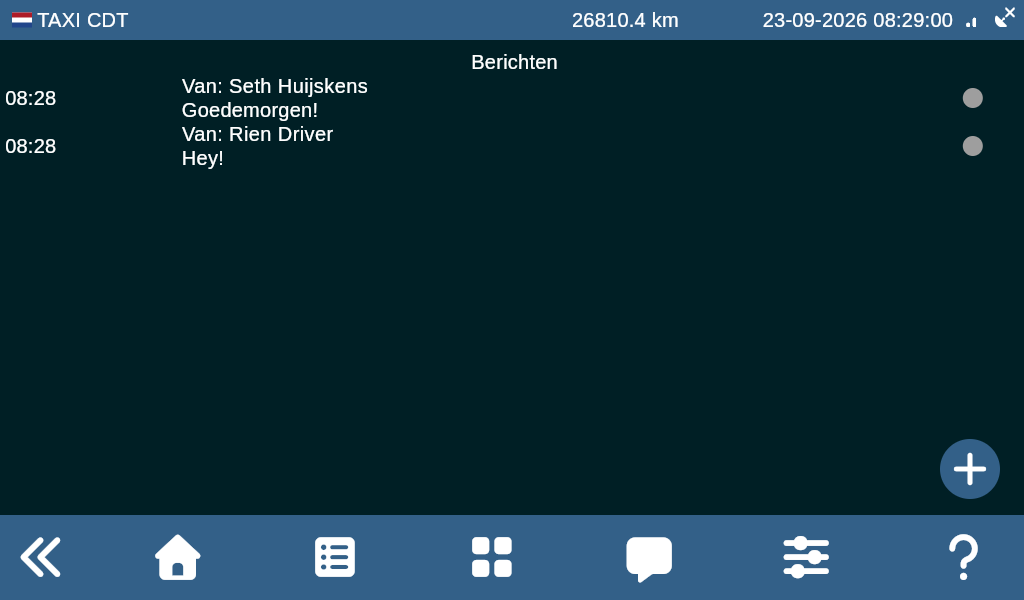
With OCTO.CAB you can receive and send messages, from the trip overview or from the navigation bar.
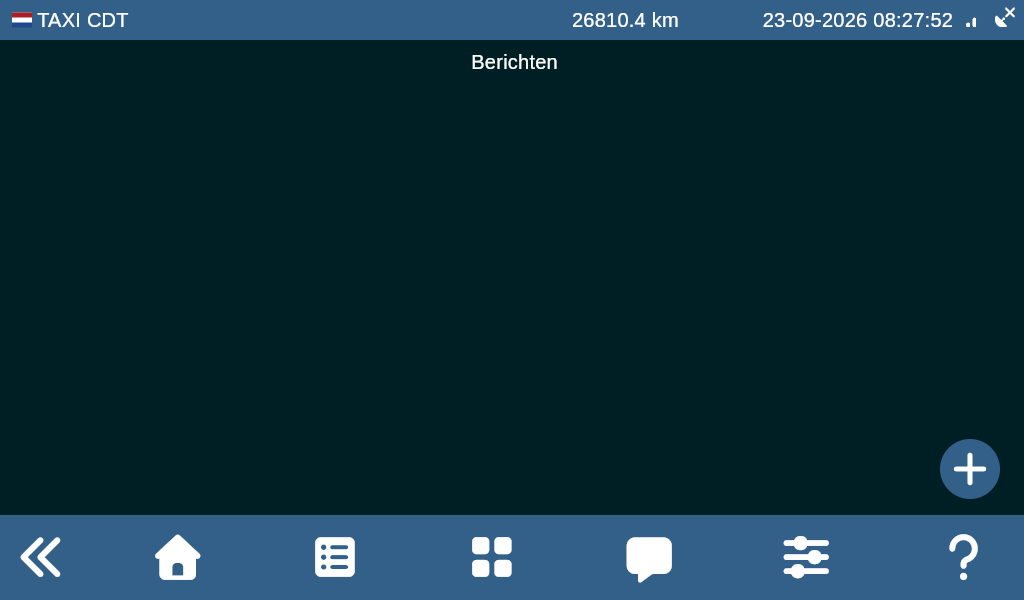
Open messages by tapping the speech bubble.
Open chat via the bubble or +
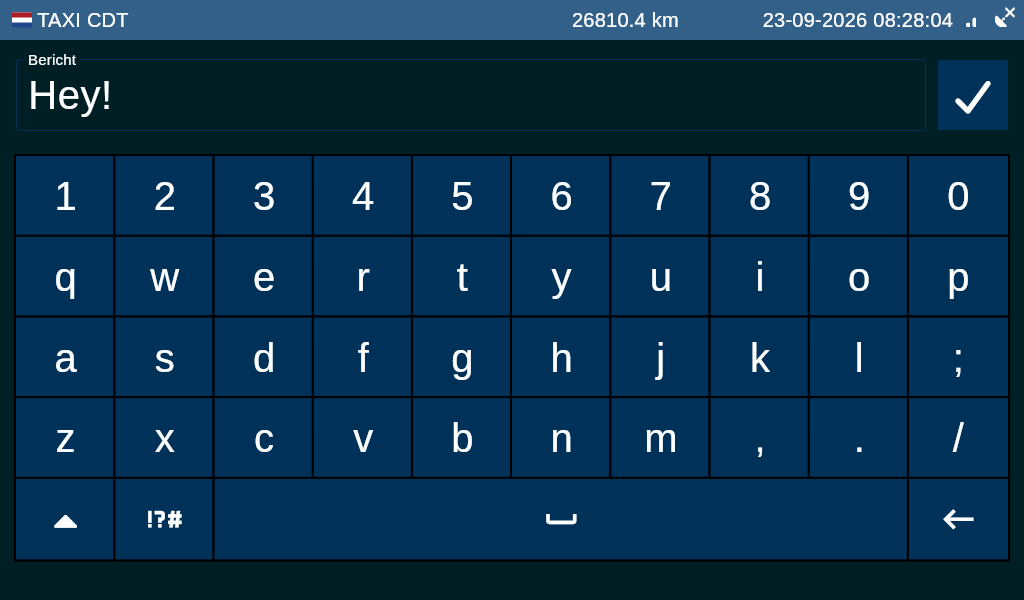
Tap + at the bottom right to type a message.
Send with the check mark.
You will see your message and any replies in the overview.
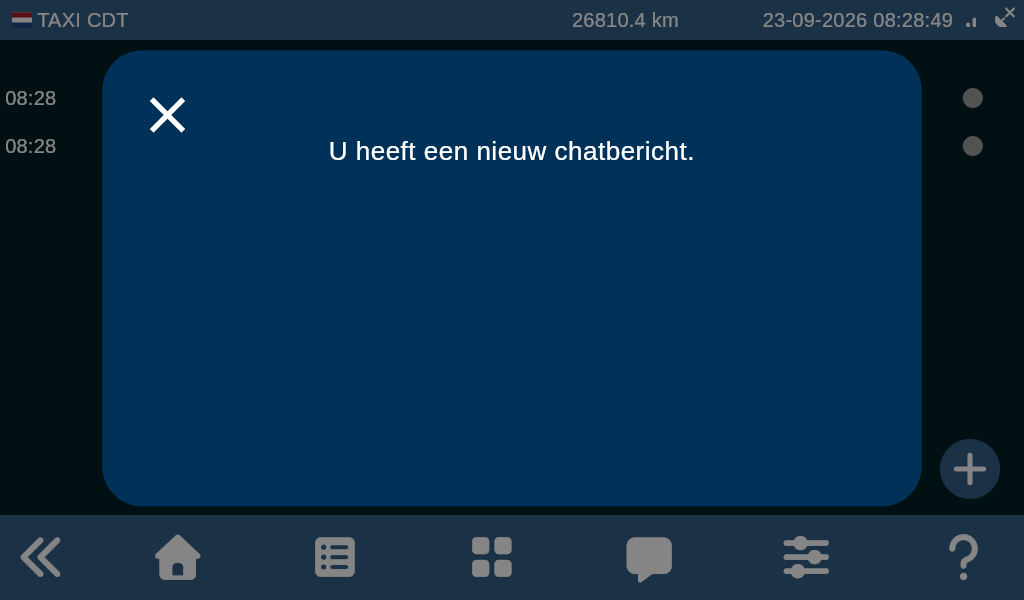
A notification appears on screen when a new message arrives.
9. End duty
In the navigation bar, tap the house icon.
Tap End duty.
You return to the home screen. Your duty is closed.
If the vehicle is switched off, OCTO.CAB goes to sleep after 5 minutes. As long as the duty remains active, the device stays on.